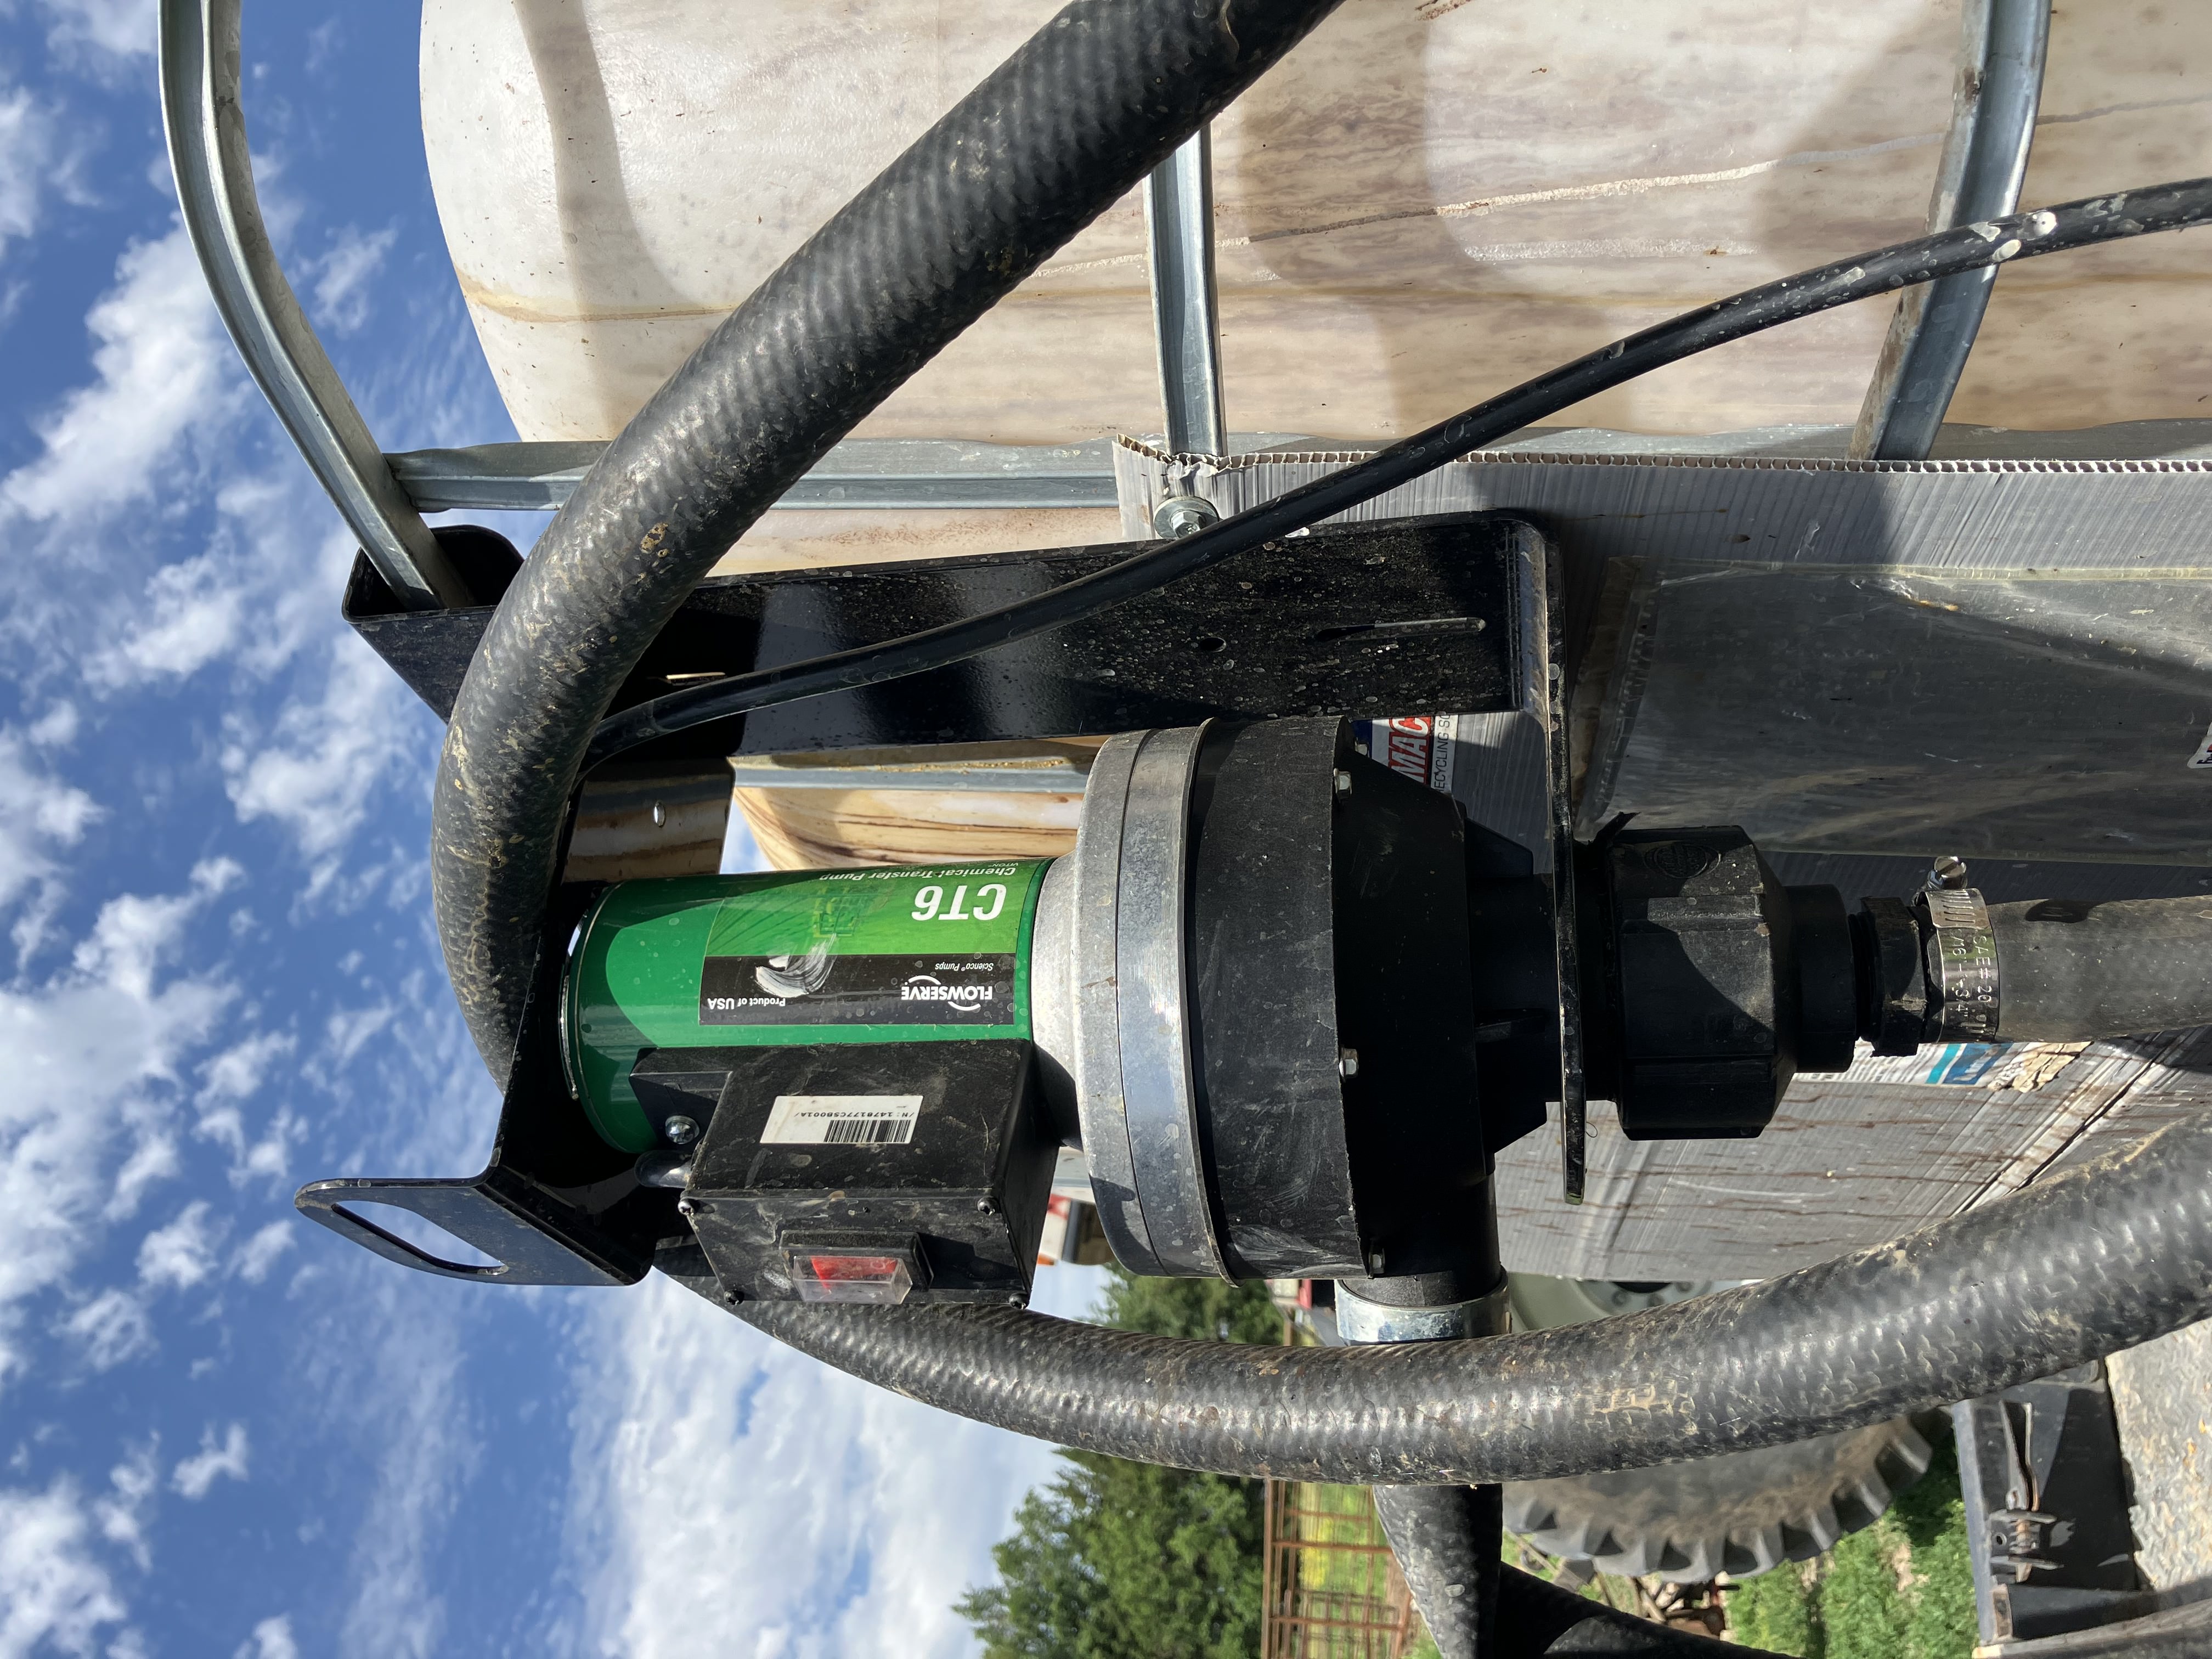
You see them everywhere and for good reason. A 12V diaphragm pumps provide the right combination of versatility, mobility, and affordability for several applications, including spraying, cleaning, low volume transfer, RVs, boats, etc.
These pumps are especially well-suited for use as sprayer pumps due to their compact size, 12-volt motor, reliable flow rate, and ability to handle water and chemical mixtures. They are commonly used on spot sprayers and boom sprayers mounted on ATVs, UTVs, and small tractors.
Understanding the various aspects of these pumps will not only help you to select the right one for your needs, but also ensure it keeps running for a long time. In the rest of this article, we will cover several topics:
- How a 12V Pump Works: A quick look at how these compact diaphragm pumps move liquid and the different types available.
- Key Features to Look For: Examining the different features and how to select the right pump for your application.
- Installation: Guidance on how to properly install a 12V diaphragm pump for optimal performance.
- Maintenance for Long-Term Performance: Simple practices to keep your pump running smoothly season after season.
If you would like to gain the knowledge you need to avoid problems with your 12V spot or boom sprayer pumps, then keep reading!
Understanding How a 12V Sprayer Pump Works
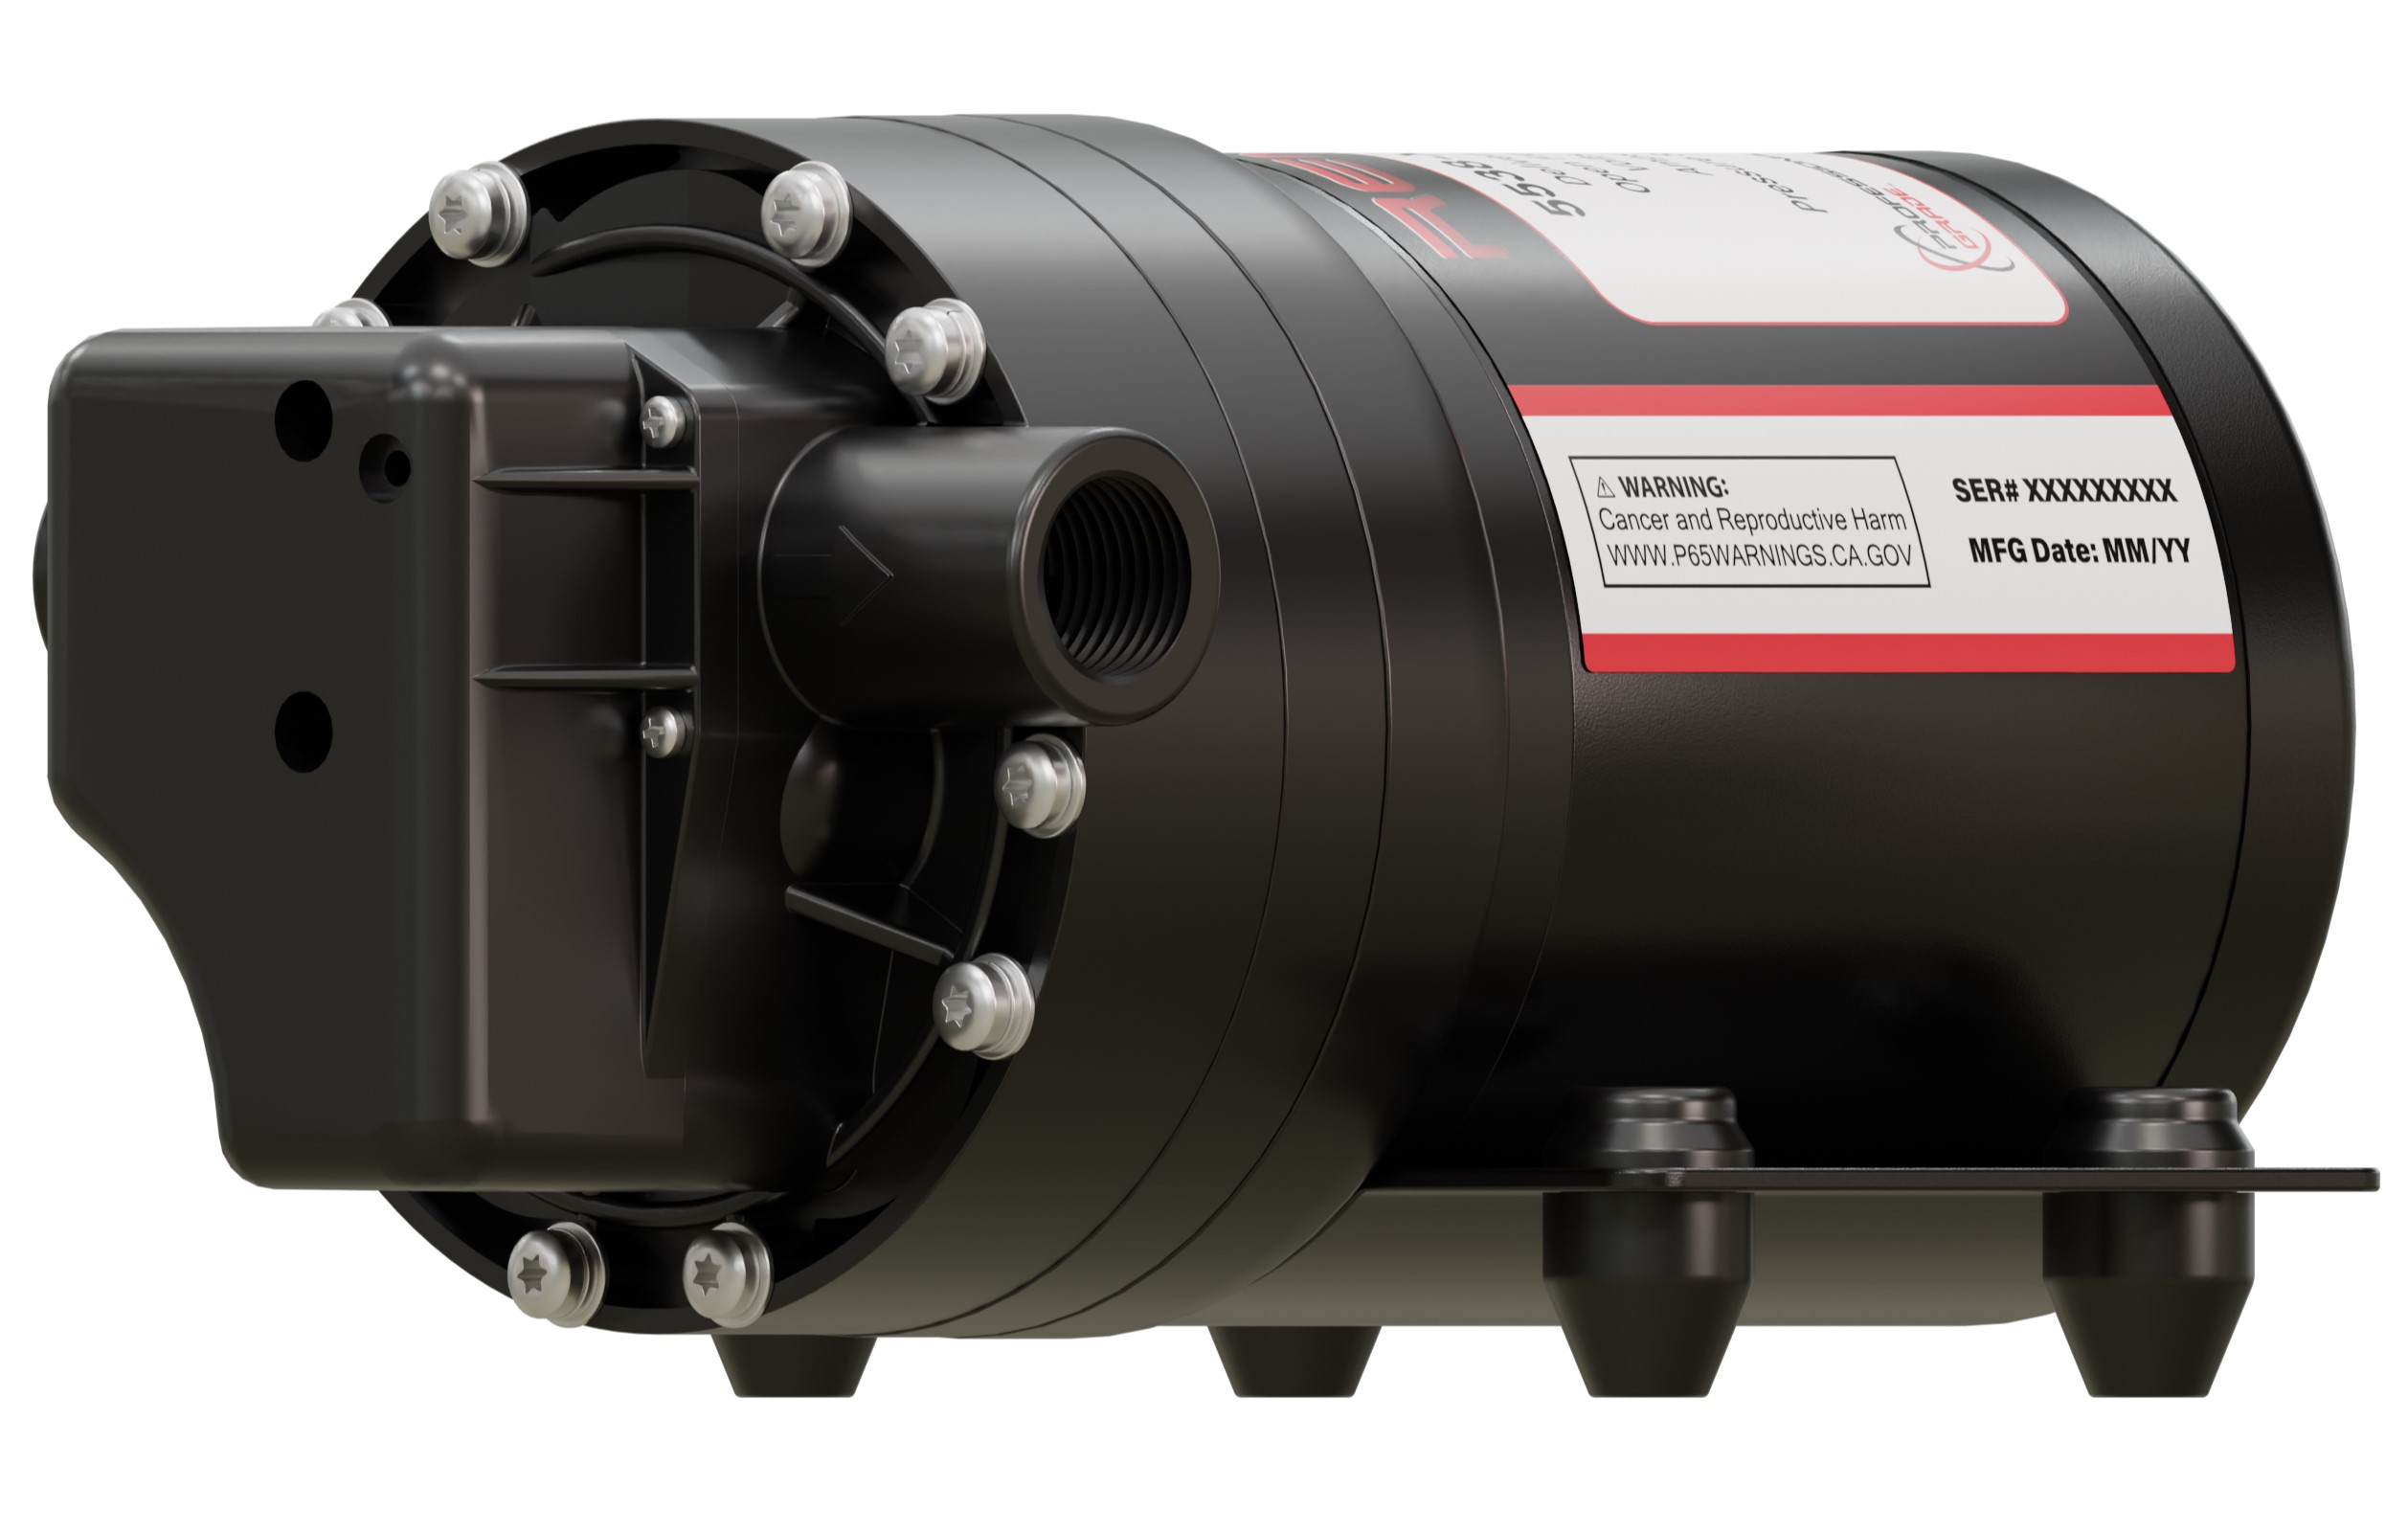
There are many types of 12V pumps, but the ones used on sprayers are simple in design. They consist of five basic components:
- Motor
- Pump Housing
- Wobble/Diaphragm Plate
- Check Valve Assembly
- Pressure Switch
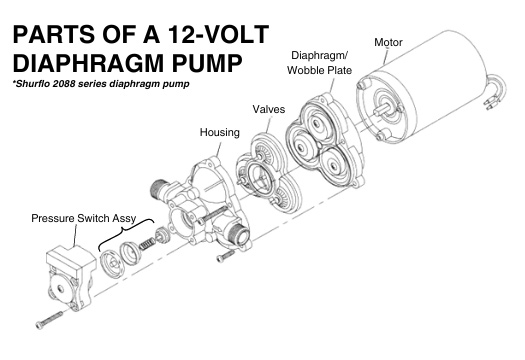
In a diaphragm pump, the wobble plate is the key to moving the fluid. Driven by the motor, this offset plate wobbles as it spins and flexes the diaphragm back and forth. As the diaphragms move, they create suction to pull fluid in through check valves, then push fluid out.
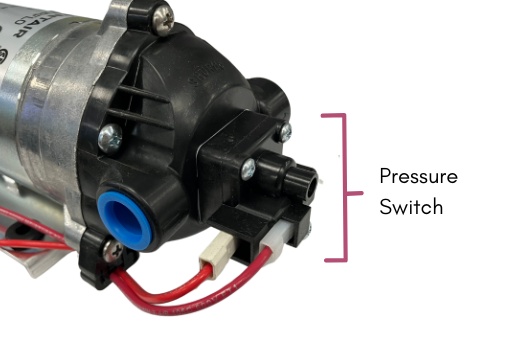
Many models include a built-in pressure switch, so the pump automatically shuts off when the spray gun or boom valves are closed. This simple but effective mechanism makes 12V diaphragm pumps ideal for spot sprayers, boom sprayers, and even foam markers in agricultural, lawn care, and pest control applications.
You can see a more detailed breakdown of 12V diaphragm pump parts (as well as other sprayer pump types) in our sprayer pump guide.
12V Sprayer Pump Capabilities
Due to the typical operating pressure requirements and limitations of 12V motors a the diaphragm pumps used on sprayers deliver relatively low flow rates at the. Typically between 1-5 gallons per minute. This is suitable for spot sprayers and small booms with up to about 8 or 9 nozzles, depending on their size.
These pumps are self-priming up to 8-10 ft, depending on the exact model. They can be run dry, that is, without any liquid passing through them.
Which 12V Sprayer Pump is Best: Key Features to Consider
When buying a 12V diaphragm sprayer pump, here are the most important specifications and features to evaluate:
Flow Rate (GPM)
Measured in gallons per minute (GPM), the flow rate determines how much liquid the pump can move in a given amount of time. Common flow rates for sprayer pumps range from 1-5 GPM. 1-2 GPM is suitable for spot spraying. The volume required for a single spray gun will typically require less than 1 GPM. Some larger nozzles may allow more, but 1-2 GPM will cover most applications.
1-2 GPM Pump options for spot sprayers:
3-5+ GPM for larger sprayers, boom spraying:
If you are not sure what size pump you need, there is a simple method to determine the gallon per minute flow rate you need. Count the number of nozzles on the boom, then determine their flow rate. The color of the spray nozzle will tell you the GPM they deliver at 40 PSI. You can learn more about sizing your nozzles in our detailed guide. When you know the nozzle flow rate, you can multiply that by the number of nozzles. Then multiply this number by about 20% to account for increased pressure and agitation. This will let you know the flow rate you need from your pump.
Pressure (PSI)
Pressure, measured in pounds per square inch (PSI), is a major factor in sprayer performance. Higher pressures typically equate to finer droplets, while lower pressures deliver coarser droplets. Also, a higher operating pressure will result in a greater output, in terms of GPM, than lower pressures with the same nozzle. Learn more about nozzle sizing in this guide.
Most 12V diaphragm pumps for sprayers operate in the range of 40–60 PSI, with some models reaching up to 100 PSI or more.
Chemical Compatibility
12V diaphragm pumps are typically compatible with a variety of chemicals. Pumps equipped with Viton, EPDM, and Santoprene have good resilience when used for water and herbicide/pesticide mixtures. They can also handle several fertilizers and other liquids. Be sure to check with manufacturers or compatibility guides for more info.
Automatic Pressure Switch
As referenced earlier, the pressure switch shuts off the pump motor when a set pressure is reached; when pressure drops, it starts the motor again. These pumps with a pressure switch are called “demand” pumps.
This is a pretty standard feature on 12V pumps used on sprayers. Especially spot sprayers. It makes using a trigger wand/spray gun extremely convenient, the pump only runs when you pull the trigger. It helps extend the pump life and conserve battery.
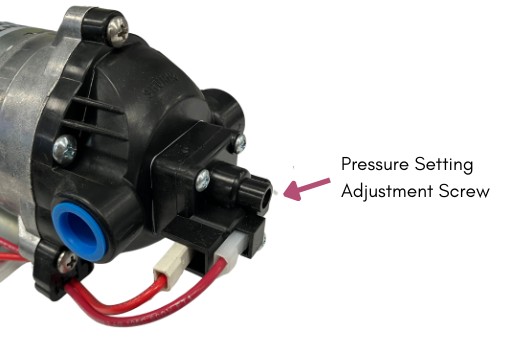
Pumps with a pressure switch can experience cycling. This happens when a restriction in the system causes the pump to reach its shut-off pressure, resulting in rapid on-off pulsing. You will hear the switch clicking and see the pressure gauge jump repeatedly.
To avoid this, you want to size the pump appropriately for the task. Using a 4-5 GPM pump will provide too much flow for a single spray gun. This will certainly cause the pump to cycle on and off. A smaller pump, 1-2 GPM, is adequate. It may still cycle, but the pressure switch can be adjusted to ensure the pump runs smoothly.
For sprayers that do require larger pumps, it may be necessary to install a regulating valve. We will discuss this more in the installation section below.
12-Volt Pump Run Time
Some 12V pumps can run continuously under ideal conditions, and some are not continuous-duty. This is because a 12V sprayer pump’s run time depends on pressure, heat buildup, and cooling.
At lower pressures (under 40 PSI), pumps can often run continuously. At higher pressures, heat builds up faster, so limit run times to about 20-30 minutes with cool-down periods. Good ventilation helps extend run time, and stable voltage keeps the pump running efficiently.
Rapid cycling on and off from the pressure switch can cause the motor to get hot as well and put wear on the motor, and reduce run time.
12V Pump Installation
Proper installation is always an important factor for any pump. Fortunately, installation is straightforward for 12V sprayer pumps, with just a few fundamental guidelines to follow.
Mounting
The compact size of a 12V pump is one of its major benefits. It is easy to install almost anywhere. In many cases, the pump is light enough to be installed right on top of a poly tank. Because they are self-priming, they will pull liquid up out of the tank with no problem.
Typically, you can mount a 12V sprayer pump horizontally, vertically, with the motor below, or with the motor above or below. The pump mustn't be installed in an enclosed space or near a source of heat such as an engine. The motor needs air circulation to keep cool.
Electrical & Wiring
There are two important factors to consider: wire gauge and fuse size. First, the wire size you use should be at least the size of the lead wires on the motor. If the motor is going to be mounted far from the power source (20 ft or more), heavier wire is recommended.
14-gauge wire is commonly adequate for most models, while larger motors, such as on the Remco “Fatboy”, would need 12-gauge wire.
Second, a fuse should be installed on the positive wire between the pump motor and the power source. The fuse should be rated higher than the pump’s maximum current rating. For example, if the max amp draw is 18, use a 20 amp fuse.
Plumbing
When plumbing a pump for a pest control or herbicide sprayer, you should use a durable EPDM rubber hose. ⅜ inch hose is ideal for spot sprayers. If you are using a 12V pump on a planter for fertilizer, you should use a larger hose to reduce the friction loss and maximize your flow.
You must install a strainer or screen on the inlet. This will protect the pump from debris. You can use a simple hose end strainer on the inlet of the suction hose inside the tank. It will prevent things like sand, grass, and other trash from getting pulled into the pump.
The downside of this screen type - it can plug over time and needs to be cleaned. A T-strainer will need to be cleaned out as well, but it can be installed on the pump inlet, outside of the tank, so it is easier to access.
As mentioned earlier, 12V pumps with a demand switch can cycle, leading to overheating, motor damage, and premature switch failure. You can keep this from being a factor by installing a regulating valve on the discharge side of the pump. The valve can be used to adjust the operating pressure by increasing or decreasing the amount of fluid returned to the tank.

TeeJet Pressure Relief Valve
The regulating valve, along with a pressure gauge, allows you to adjust the output of your sprayer. If you know your nozzle capacity at various pressures, and you can adjust your pressure, you can increase or decrease your application rate as needed.
Maintenance for Long-Term Performance
The most effective maintenance practice to prolong the life of your pump is to rinse fresh water through the system after each use. More damage to the internal pump components occurs when the pump is sitting around, not in use. Residual chemicals can corrode components and degrade diaphragms and valves. Fill the tank with clean water and run it through the pump and sprayer for a couple of minutes to flush out as much residual as possible. It is well worth your time.
A clogged strainer can be a common cause of poor pump performance. Check the strainer screen periodically and clean with fresh water. If you notice a change in pump performance, be sure to check your strainer first.
Additionally, at the end of each spray season, be sure to follow the recommended winterizing and storage guidelines. Freezing water left in the pump, hoses, or fittings can expand and crack components, especially delicate internal parts like diaphragms, valves, and seals. To prevent this, start by thoroughly draining the sprayer tank, pump, and all connected lines.
It’s best to run the pump briefly with clean water to push out any remaining chemical residue and moisture from the system. Once everything is drained, prepare a solution of RV antifreeze—this type is non-toxic and safe for pump systems. Fill the tank with enough antifreeze to circulate through the entire pump and plumbing system. Then, power on the pump and run it until the antifreeze exits from each nozzle or spray tip, ensuring it has reached every internal passage.
Once you’ve confirmed that antifreeze has been distributed throughout the system, turn off the pump and store the sprayer in a dry, sheltered location. Taking these steps will help you avoid costly repairs and ensure your sprayer is ready to go when spring returns.
Ready to find a 12V pump? Search our full inventory here.

Tech Ag & Industrial Sales
Shane Blomendahl is a tech sales veteran at Dultmeier Sales with over 10+ years of experience in liquid handling products covering several industries and applications.
Learn More About the Author